Search
How to add Intercom to your website
Elevate your Framer site in seconds by integrating Intercom. This enables customers to open support tickets, automate tasks with chatbots, and send outbound messages effortlessly.
Sign in to your Intercom account. After installing the messenger, it will be enabled by default. This is necessary for it to function on your website. To verify, navigate to Messenger > Platforms > Web > Show the Messenger Launcher. Customize your messenger controls as desired (e.g., custom styling, targeted audiences). Once configured, the messenger will appear on your site as intended. Next, copy your workspace ID, which can be found in the browser URL.
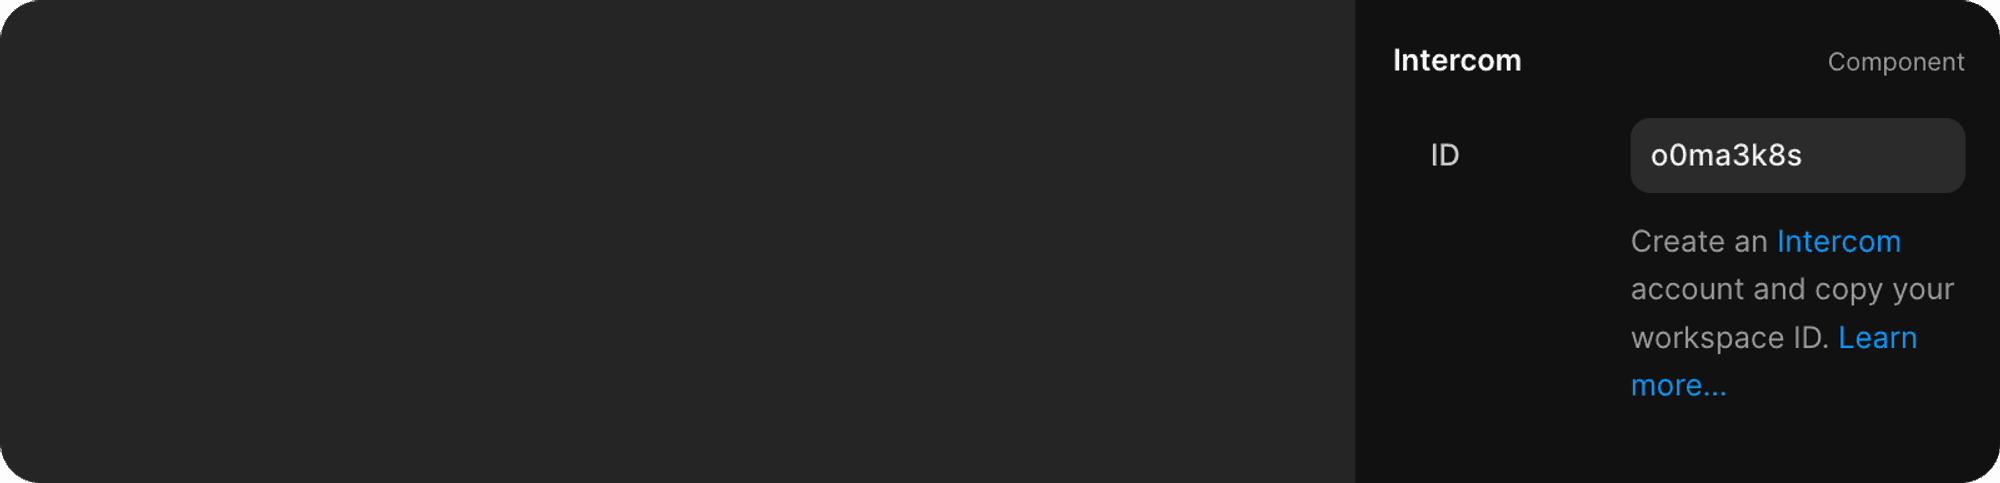
See the demonstration at the URL below, where the workspace ID is o0ma3k8s.
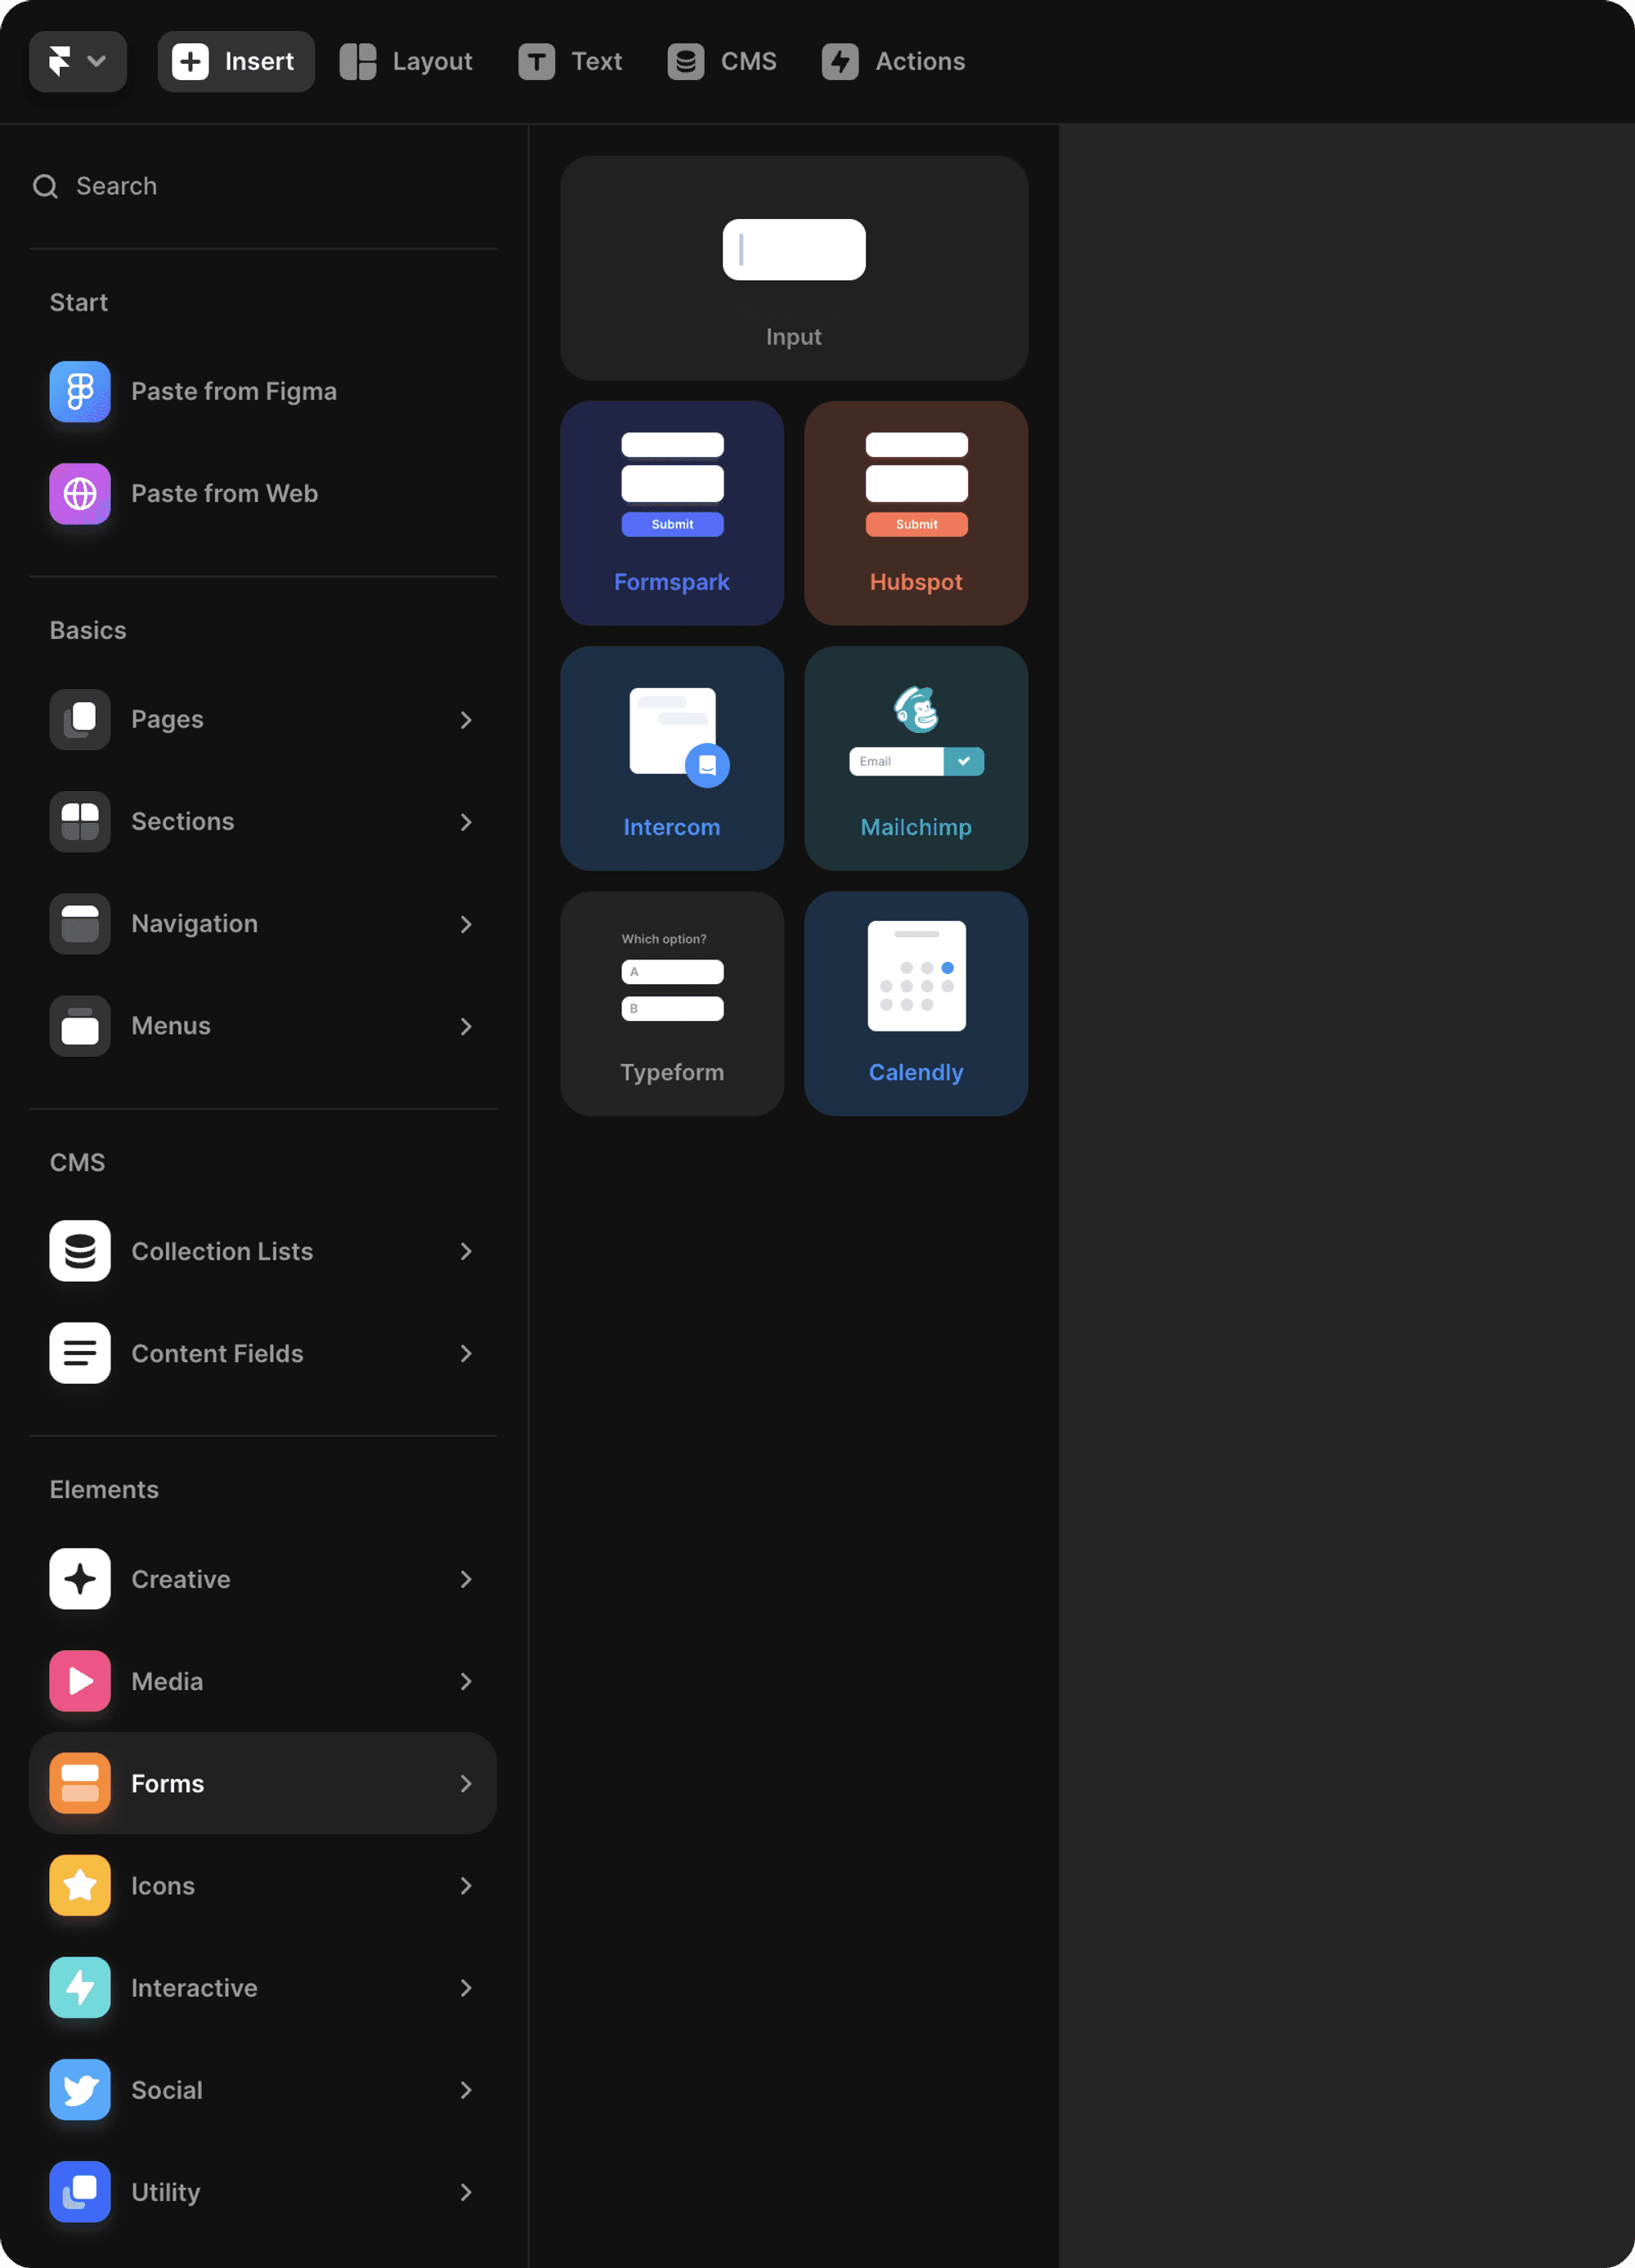
Next, open a project in Framer. Select Insert in the top navigation to open the Insert panel. Locate Intercom and drag the Intercom component onto any page on your canvas.
In the properties panel on the right, you'll see an ID field where you can paste your workspace ID.
Note that this component is empty and will display a placeholder on your canvas for convenience. This placeholder is only visible in the canvas and will not appear when viewed as a website. To see the Messenger in action, preview your website or publish it.
Having trouble finding Messenger on your site? Follow these steps to troubleshoot.
Favorite use cases for Intercom in Framer
Enable your audience to connect with you directly through a live chat on your Framer website.
Add Intercom's Business Messenger to your site to engage with leads and clients.
Leverage automation by experimenting with powerful chatbots.
Streamline support requests in a single, convenient location.